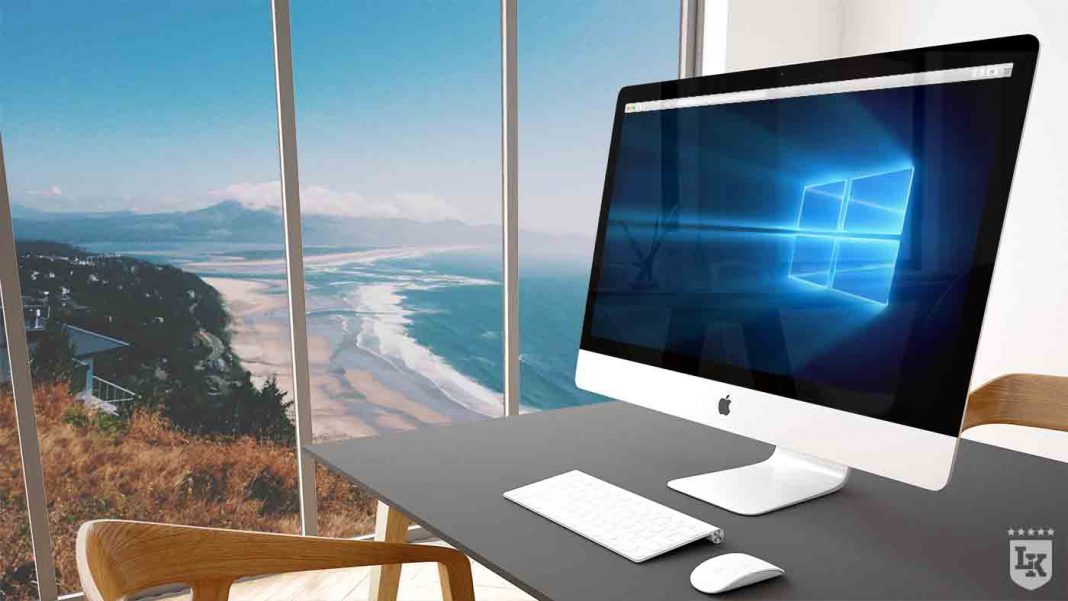
If you plan to install Windows 10 on a Mac, you have several options. In fact, it all depends on your user profile. In our blog for week 14, we explain how to run Windows on a Mac easily and simply. With all these indications and tips, you have a remarkable decision-making aid to set up the most appropriate tools on a Mac to be able to run Windows programs.
Install Windows on your Mac via Apple Boot Camp
Licenceking is the number one address in Germany for the sale of new and used software. That’s why you can buy Windows 10 from us at the best price, 100% secure and 100% legal, with top customer service! You will find in our shop the Windows 10 Professional editions (with a link to download the operating system for free or on DVD with a product key and a COA “certificate of authenticity”) and also Windows 10 Home as a free download link.
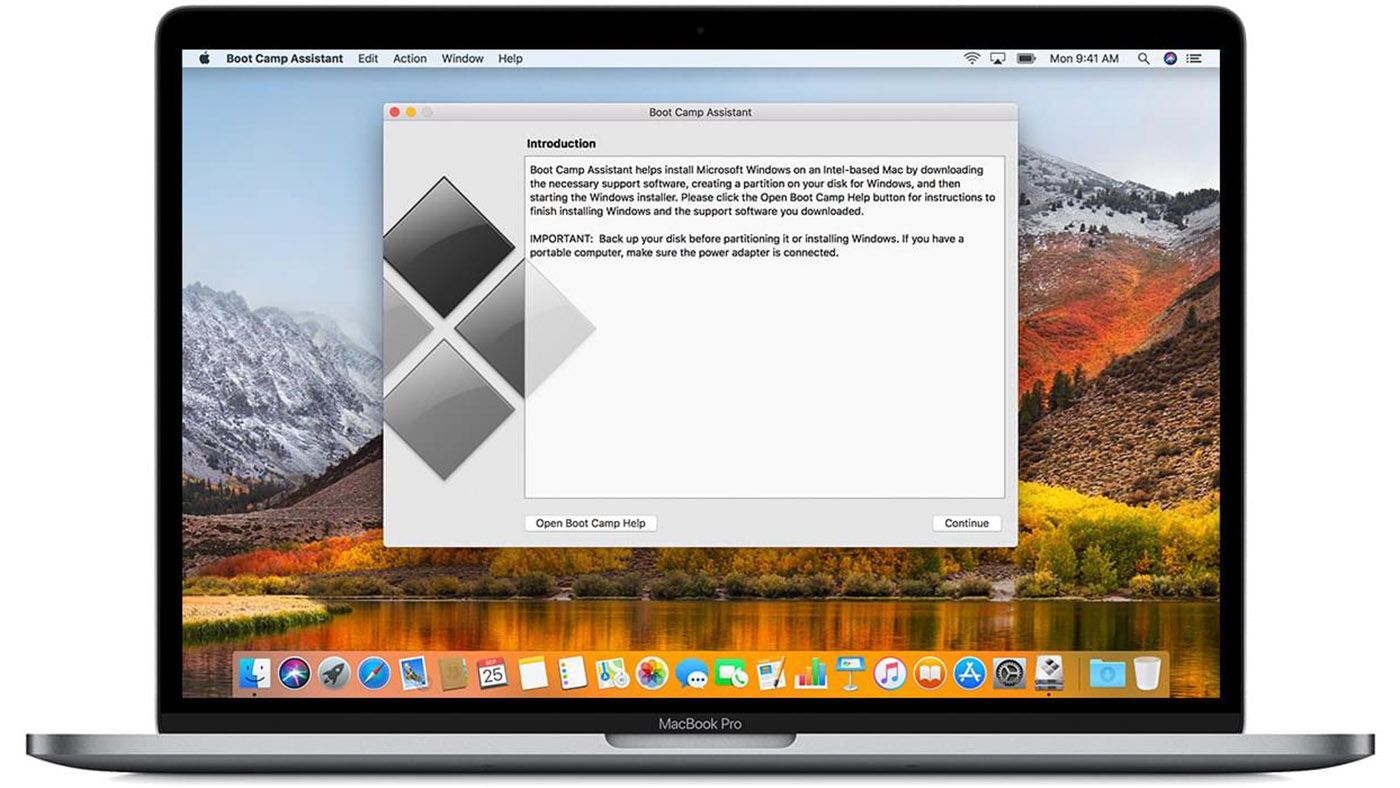
Among the most popular methods to install Windows 10 on your Mac, there is surely the Boot Camp option. This free solution was even created by Apple so that PC users can also use the competitor’s popular operating system Microsoft on their iMac and other similar devices. Before installing Windows on your Mac via Boot Camp, first check the configuration requirements data.
Receive a disk image before installing Windows for Mac
If you have purchased the Windows 10 operating system from Licenceking, we will send you the software either as an installation DVD or as a download. If you have chosen the DVD, you will need to create an image file (ISO) with Boot Camp before the first use. At the time of downloading, the ISO file is directly included.
About included files: In order for you to install Microsoft Windows on your Mac via Apple Boot Camp, the Boot Camp Wizard is an integral part of Apple’s OS X. Thanks to it, you will be guided comfortably through the preparation, installation and configuration of Windows on your Mac. The Windows Startup Wizard loads the software support, divides the hard disk into partitions and creates a bootable USB key for the installation of Windows and all required drivers.
Requirements to install Windows on Mac with Boot Camp
- current version of OS X (preferably very recent installation)
- hard disk with a minimum of 30 GB
- working memory of at least 2 GB RAM
- Boot Camp assistant (located in the „/Applications/Utilities/“ or „/Programs/Utilities/“ folder)
- Windows 10 with 64 Bit as ISO-Image or Installation DVD
- ISO-Image or installation DVD
-
USB stick of at least 5 GB
If you use one of these templates, you can do without a flash player
- Mac Pro (end 2013)
- MacBook Air (2015 or later)
- MacBook Pro (2015 or later)
- MacBook (2015 or later)
-
iMac (2015 or later)
Install Windows on Mac with Boot Camp
If you want to install Windows on your Mac with Boot Camp, the Boot Camp Wizard takes care of the installation almost entirely on its own. The installation is prepared by creating your installation media, for example a USB stick. In addition, Boot Camp loads the latest drivers for network interfaces, graphics card, camera, touchpad, mouse and keyboard on this support.
According to your requirements, the Boot Camp Wizard then creates a partition for installing Windows on your Mac. Immediately afterwards, the installation of Windows on your Mac itself can start.
Here’s how you’ll have to do it:
- go through Spotlight with the CMD+space shortcuts to open the Boot Camp wizard
- determine with the Continue key the following tasks to be performed:
a) create an installation disk
b) download the software in its most recent version from Apple
c) install Windows
- click on Continue
- choose the Windows source media by clicking on Select (DVD version or Windows ISO Image version)
- under Destination choose the storage medium (e. g. USB stick)
-
continue by clicking on Continue
Create a partition for Windows on Mac
- the hard disk is divided into two partitions
- the size of the partitions can be adjusted by dragging the cursor
- for a Windows partition, you must have at least 30 GB
- Mac restarts after the Boot Camp Assistant closes
- if necessary, click on the Alt key during the restart to choose the right boot disk
- when booting from the simple boot manager, choose the media (e. g. WININSTALL USB stick)
Then Windows starts as usual. You can now move through the installation process without difficulty, until you choose the type of installation. There, choose the BOOTCAMP partition. You will then see the following message displayed: „Windows cannot install partition Y on the Y media„.
Mark the Boot Camp partition with a click and then choose the Format option, confirm with OK. Then activate the Continue button and close the Windows installation. After your very first registration on Windows 10 the Boot Camp installation program starts and runs all the Windows drivers needed for your Mac.

Once the drivers are installed, you will need to restart your computer. Remember that this is no longer an active installation of the devices. The installation of Windows on the Mac by Boot Camp is completed once you have restarted.
You now have the option to return to MacOS in Windows via the Boot Camp taskbar icon. To do this, simply select the MacOS volume, then simply restart your Mac. However, if you want to switch from MacOS to Windows again, use the boot volume setting area to choose the Boot Camp volume. Here too, you will need to restart the computer. If you keep the selection key pressed, you can even decide immediately after restarting whether you want to start the computer with Windows or MacOS.
Installing Windows programs on Macs with Parallels Desktop and VMware Fusion
With Parallels Desktop you can create a virtual Windows workstation on your MacOS X. This option is for anyone who uses very specialized applications for which there is no equivalent on Windows.
VMware Fusion works the same way: it is also a virtual solution. The developers of this tool also promise that, despite the extra load on your hard disk and the storage space used, your computer will not lower its performance.
Installing Windows on a Mac: to conclude with Boot Camp, Parallels Desktop and VMware Fusion
Advantages of Apple Boot Camp :
-
Windows and all Windows applications can be used without compromising performance for your Mac
- free of charge
Disadvantages of Apple Boot Camp :
- when starting your Mac, you must choose between Windows and MacOS
- to switch from Windows to MacOS you must first restart
Benefits of Parallels Desktop for Mac:
- the virtual workstation makes it very fast to change operating systems
- Display and style options on Parallels Desktops allow simultaneous use of MacOS X and Windows 10
Disadvantages of Parallels Desktop for Mac :
- commercial solution (for example, 99.95£ for Parallels Desktop 13 Pro Edition with one year subscription and a single license)
- is not suitable for applications that require intensive use of the graphics card and video card, such as some games available on Windows
Advantage of VMware Fusion :
- MacOS X and Windows can be used simultaneously without rebooting
Disadvantages of VMware Fusion :
-
solution commerciale (par exemple 88,95 € pour VMware Fusion 10)
- compared to Boot Camp: possible drop in performance due to virtualization

Now, the decision is yours! It’s up to you to choose the tool that you think is ideal for installing Windows 10 on your Mac. The cheapest solution is of course to buy Windows 10 from Licenceking, the number one address in France for the sale of new and used software! Take a look at our online store and finally use your wonderful MacBook with Windows 10!


